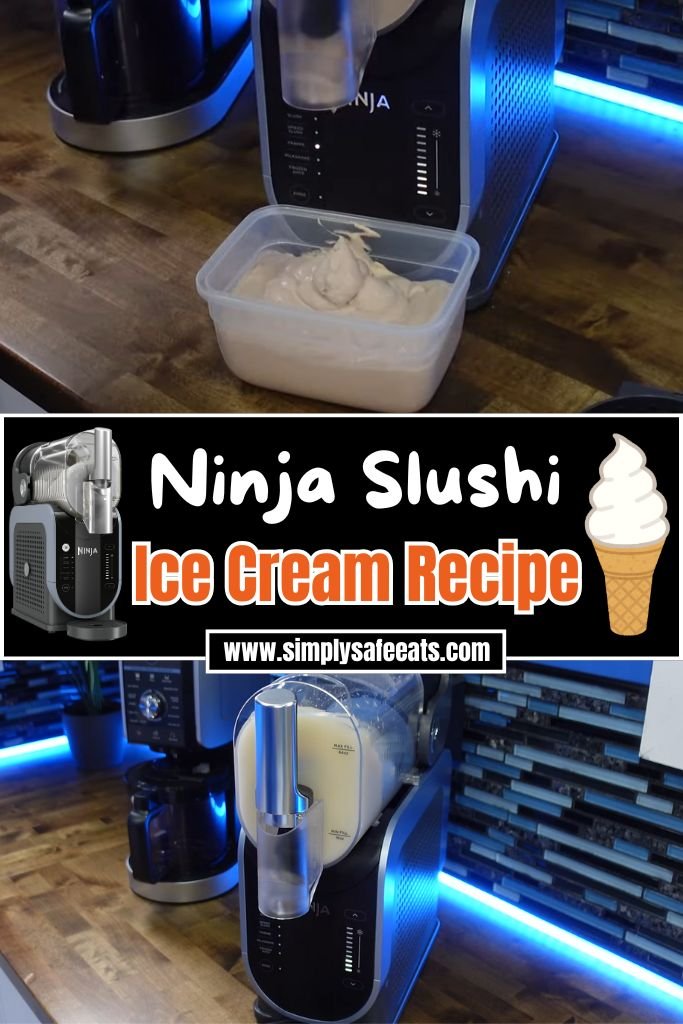
Ninja Slushi Ice Cream Recipe
We all love to eat ice cream. It’s hard to find people who don’t enjoy a cold, sweet treat. We’ve tried many common ice creams, but what happens when this ice cream becomes slushy?
It changes everything! Today, I’m showing you how to make this amazing Ninja Slushi Ice Cream Recipe.
This treat combines the creaminess of classic ice cream with smooth texture. My kids go crazy for it on hot summer days.
It’s so simple to make at home, and you don’t need any fancy skills. You just mix a few basic ingredients and let your Ninja Slushi machine do the work.
In less than 30 minutes, you get a creamy, cold dessert that beats store-bought ice cream any day. Let’s get started!
Normal Ice Cream vs Ninja Slushi Ice Cream
Normal ice cream takes hours to freeze in a container. You have to wait and stir it a few times to avoid ice chunks. But Ninja Slushi ice cream is different.
The machine churns and freezes your mix at the same time. This means you get smooth, soft ice cream in just 20-30 minutes. No ice crystals form because the machine keeps everything moving.
Normal ice cream can get hard in the freezer. You need to wait for it to soften before you can scoop it. With the Ninja Slushi, you can eat it right away.
The texture is like soft serve from a shop. Plus, you control what goes in it—no weird stuff or fake ingredients. Just fresh cream, milk, and sugar. That’s what makes this method so much better for quick treats at home.
Why You’ll Love This Ninja Slushi Ice Cream
This Ninja Slushi Ice Cream Recipe is a winner for so many reasons! Here’s why it’ll become your go-to dessert:
- Super Easy: No fancy skills needed—just mix, freeze, and churn.
- Creamy Delight: The Ninja Slushi makes it smooth and rich every time.
- Make It Your Own: Add your favorite flavors or mix-ins like chocolate chips or fruit.
- Quick Prep: Ready in under an hour with minimal work.
- Kid-Friendly: Kids love helping with this fun recipe!
I love how simple this recipe is. The Ninja Slushi does all the hard work, turning basic ingredients into a creamy treat.
Ninja Slushi Ice Cream Ingredients
Here’s what you need to make this yummy ice cream. Each ingredient plays a big role in making it creamy and delicious.
- Heavy Cream (1 cup): This gives the ice cream its rich, smooth texture. It’s the key to that melt-in-your-mouth feel. I use full-fat heavy cream for the best results, but make sure it’s cold before you start.
- Whole Milk (1 cup): Milk balances the cream, making the ice cream light but still creamy. I prefer whole milk for extra richness, but 2% works too if you want a lighter option.
- Granulated Sugar (1/2 cup): Sugar sweetens the ice cream and helps it freeze properly in the Ninja Slushi. I use regular white sugar because it dissolves easily.
- Vanilla Extract (1 teaspoon): This adds a classic, warm flavor. I go for pure vanilla extract for the best taste, but imitation works in a pinch.
- Pinch of Salt: A tiny bit of salt enhances all the flavors. It makes the sweetness pop without tasting salty. I use table salt for even mixing.
Helpful Swaps
Don’t have all the ingredients? No problem! Here are some easy swaps that still make great ice cream:
- Heavy Cream: Swap with coconut cream for a dairy-free version. It’s just as creamy but adds a slight coconut flavor.
- Whole Milk: Use almond milk, oat milk, or soy milk for a dairy-free option. Oat milk is my favorite for its neutral taste.
- Granulated Sugar: Try honey or maple syrup for a natural sweetener. Use the same amount, but know it might add a slight flavor.
- Vanilla Extract: If you’re out, use almond extract or skip it and add mix-ins like fruit puree for flavor.
Kitchen Equipment Needed
To make this Ninja Slushi Ice Cream, you’ll need a few simple tools:
- Ninja Slushi Machine: The star of the show! It churns and freezes your mixture into perfect ice cream.
- Measuring Cups and Spoons: For accurate amounts of cream, milk, sugar, and vanilla.
- Whisk or Spoon: To mix the ingredients smoothly before pouring into the machine.
- Large Liquid Measuring Cup: Makes it easy to mix and pour the liquid into the Ninja Slushi.
- Spatula: Handy for scraping the ice cream out of the machine.
- Airtight Container: For storing any leftovers in the freezer.
How to Make Ninja Slushi Ice Cream
Making this Ninja Slushi Ice Cream Recipe is so easy, even if you’ve never made ice cream before. Follow these steps, and you’ll have a creamy treat in no time!
Step 1 | Get Your Ninja Slushi Ready
Make sure your Ninja Slushi machine is clean and set up on a flat counter. Plug it in and check that the condensation catch and auger are in place. This keeps everything running smoothly.
Step 2 | Mix the Ingredients
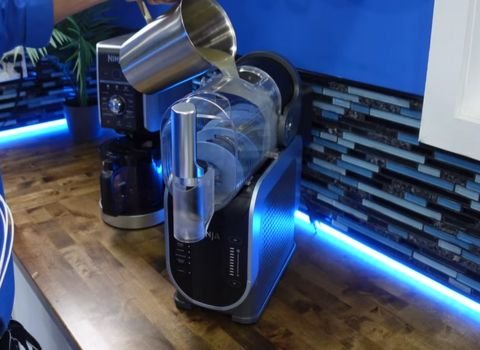
In a large liquid measuring cup, pour in 1 cup of heavy cream and 1 cup of whole milk. Add 1/2 cup of granulated sugar, 1 teaspoon of vanilla extract, and a pinch of salt.
Whisk it all together until the sugar dissolves completely. This takes about a minute, and you want it nice and smooth.
Step 3 | Pour into the Ninja Slushi
Open the cover on top of the Ninja Slushi machine. Pour your mixture through the easy-fill port. Don’t add ice or solid ingredients—that’s a big no-no for this machine! Close the cover tightly.
Step 4 | Choose the Milkshake Setting
Turn on the machine by pressing the power button. Select the “Milkshake” preset, as it’s perfect for creamy ice cream.
The machine will start at the default temperature, which works great, but you can adjust it if you want a thicker texture.

Step 5 | Let It Churn
The Ninja Slushi will churn and freeze your mixture. This usually takes 20-30 minutes, depending on how cold your ingredients were.
You’ll hear three beeps when it’s done, and the lights will stop pulsing. That’s your sign the ice cream is ready!

Step 6 | Check the Texture
If the ice cream looks too soft, press the up button to increase the freeze level and let it churn a bit longer. I usually go for level 3 for a scoopable texture.
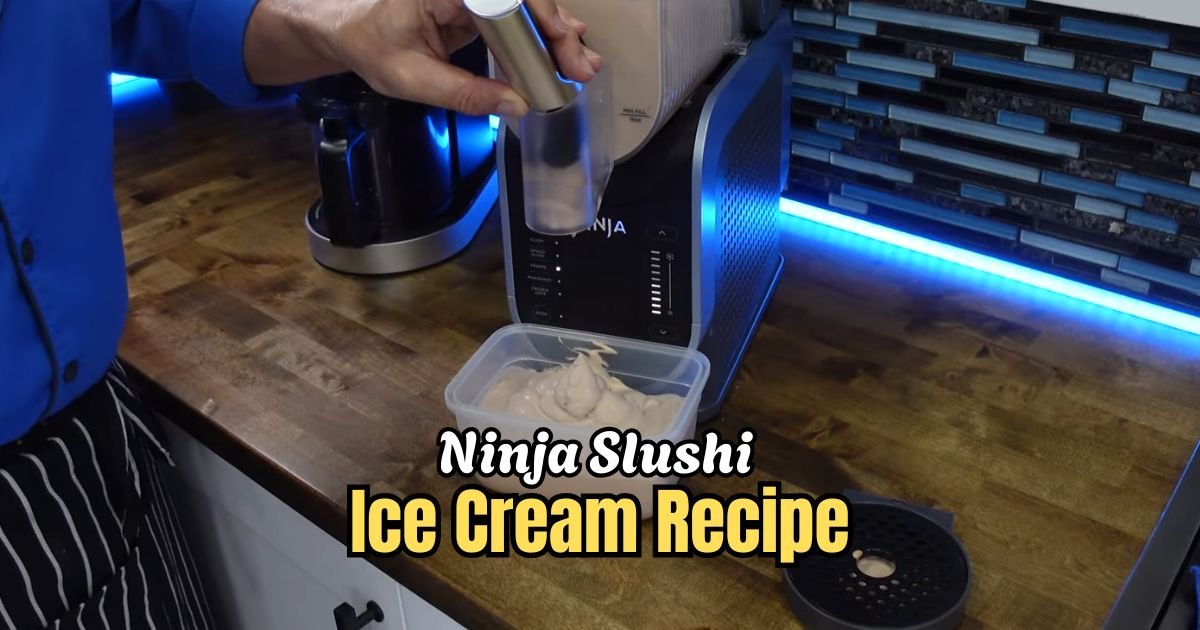
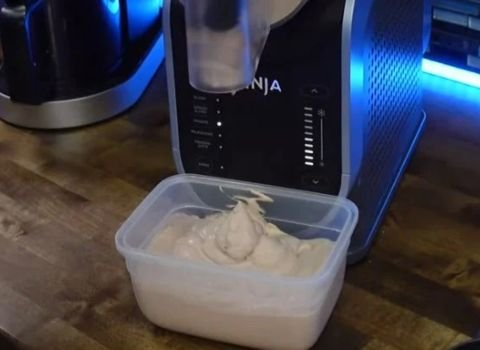
Step 7 | Serve It Up
Place a cup or bowl on the drip tray under the handle. Slowly pull the handle to dispense your ice cream. It comes out smooth and creamy, ready to enjoy!
Step 8 | Add Mix-Ins (Optional)
If you want extras like chocolate chips or fruit, stir them in after dispensing. I love adding crushed cookies for a fun crunch!
Recipe Tips for Success
Here are some quick tips to make your Ninja Slushi Ice Cream perfect every time:
- Use Cold Ingredients: Start with chilled cream and milk for faster freezing.
- Don’t Overfill: Keep the liquid below the 64-ounce max line to avoid spills.
- Dissolve Sugar Fully: Whisk until no sugar grains are left for a smooth texture.
- Clean the Machine: Rinse the vessel with hot water after use for easy cleanup.
- Experiment with Flavors: Try adding cocoa powder or fruit juice for variety.
Ninja Slushi Ice Cream Serving Suggestions
You’ll love serving this Ninja Slushi Ice Cream in fun, creative ways! Here are some ideas to make it extra special:
- Classic Bowl: Scoop it into a bowl and top with whipped cream and a cherry.
- Waffle Cones: Serve in a crispy cone for a classic ice cream shop vibe.
- Sundae Style: Add hot fudge, caramel, or sprinkles for a decadent treat.
- With Fruit: Pair with fresh berries or banana slices for a lighter option.
- Dessert Float: Drop a scoop into root beer or soda for a fun float.
How to Store Ninja Slushi Ice Cream
Storing your Ninja Slushi Ice Cream is easy and keeps it fresh for later. If you have leftovers, scoop them into an airtight container.
I use a plastic container with a tight lid to keep air out. Pop it in the freezer right away to maintain that creamy texture.
It’ll stay good for up to two weeks, but I bet it won’t last that long! When you’re ready to eat it again, let it sit at room temperature for 5-10 minutes to soften slightly.
This makes scooping easier. Don’t refreeze the same batch in the Ninja Slushi—it’s best to make a fresh mix for the machine. I always make just enough to enjoy, but storing extras is great for quick treats!
Ninja Slushi Ice Cream Recipe FAQs
1. Can I use low-fat milk instead of whole milk?
Yes, you can use low-fat milk like 2% or skim, but the ice cream might be less creamy. Whole milk gives it that rich, smooth texture I love.
If you go low-fat, try adding a bit more heavy cream to balance it out. You’ll still get a tasty treat, just slightly lighter. Experiment to see what works for you!
2. How long does it take to make the ice cream?
The Ninja Slushi usually takes 20-30 minutes to churn and freeze the mixture. If your ingredients are cold, it might be faster.
I’ve found that starting with chilled cream and milk cuts down the time. The machine beeps when it’s done, so you’ll know exactly when it’s ready!
3. Can I add mix-ins like chocolate chips?
Yes, but don’t add them to the Ninja Slushi while it’s churning. The machine doesn’t handle solids well. Instead, stir in mix-ins like chocolate chips, nuts, or fruit after dispensing the ice cream. I love adding crushed Oreos for extra crunch—it’s a hit with my family!
4. What if my ice cream is too soft?
If it’s too soft, increase the freeze level by pressing the up button and let it churn longer. I usually go to level 3 or 4 for a firmer texture.
You can also pop the dispensed ice cream in the freezer for 10-15 minutes to firm it up before serving.
5. Can I use sugar substitutes?
Yes, you can use honey, maple syrup, or a sugar substitute like stevia. Just make sure you have at least 8 grams of sugar (or equivalent) per 8 ounces of liquid, as the Ninja Slushi needs it to freeze properly. I’ve used honey before, and it adds a nice flavor!
Ninja Slushi Ice Cream Recipe

Creamy Ninja Slushi Ice Cream recipe made in 30 minutes! Perfect dessert using milk, cream & sugar—quick and easy for any time.
Ingredients
- 1 cup Heavy Cream – Full-fat, cold
- 1 cup Whole Milk – Can substitute 2% for lighter version
- ½ cup Granulated Sugar – White sugar preferred
- 1 teaspoon Vanilla Extract – Pure for best flavor
- 1 pinch Salt – Table salt enhances flavor
Instructions
Step 1 | Get Your Ninja Slushi Ready
Make sure your Ninja Slushi machine is clean and set up on a flat counter. Plug it in and check that the condensation catch and auger are in place. This keeps everything running smoothly.
Step 2 | Mix the Ingredients
In a large liquid measuring cup, pour in 1 cup of heavy cream and 1 cup of whole milk. Add 1/2 cup of granulated sugar, 1 teaspoon of vanilla extract, and a pinch of salt. Whisk it all together until the sugar dissolves completely. This takes about a minute, and you want it nice and smooth.
Step 3 | Pour into the Ninja Slushi
Open the cover on top of the Ninja Slushi machine. Pour your mixture through the easy-fill port. Don’t add ice or solid ingredients—that’s a big no-no for this machine! Close the cover tightly.
Step 4 | Choose the Milkshake Setting
Turn on the machine by pressing the power button. Select the “Milkshake” preset, as it’s perfect for creamy ice cream. The machine will start at the default temperature, which works great, but you can adjust it if you want a thicker texture.
Step 5 | Let It Churn
The Ninja Slushi will churn and freeze your mixture. This usually takes 20-30 minutes, depending on how cold your ingredients were. You’ll hear three beeps when it’s done, and the lights will stop pulsing. That’s your sign the ice cream is ready!
Step 6 | Check the Texture
If the ice cream looks too soft, press the up button to increase the freeze level and let it churn a bit longer. I usually go for level 3 for a scoopable texture.
Step 7 | Serve It Up
Place a cup or bowl on the drip tray under the handle. Slowly pull the handle to dispense your ice cream. It comes out smooth and creamy, ready to enjoy!
Step 8 | Add Mix-Ins (Optional)
If you want extras like chocolate chips or fruit, stir them in after dispensing. I love adding crushed cookies for a fun crunch!
Nutrition Information:
Serving Size: 1Amount Per Serving: Calories: 265Total Fat: 20gSaturated Fat: 13gCholesterol: 75mgSodium: 45mgCarbohydrates: 18gSugar: 17gProtein: 3g
Did you make this Ninja Slushi Ice Cream Recipe? Please leave a ⭐ rating and review!